It is a common practice for most new website owners to host their website via shared hosting as it is not only affordable but also easy to manage, requiring zero to none technical knowledge. However, as the website and its traffic grows, the resources provided by shared hosting will not be enough for the website to perform efficiently. Therefore, in order to ensure optimal performance of your website, it is in your best interest to shift from shared hosting to VPS hosting.
VPS hosting is a perfect fit for growing websites as it ensures better performance, speed, and security. Don’t know how to migrate from shared hosting to VPS? Don’t sweat it, as we are here to provide you with guidance. Refer to our elaborate top 5 steps to migrate website from shared to VPS hosting, where we will explain one by one the steps you will need to take in order to transfer your website. So, what are you waiting for? Let’s get migrating!
VPS Hosting: Why is it Beneficial?

VPS Hosting: An Overview
VPS hosting also referred to as Virtual Private Hosting is more of a blend of shared and dedicated hosting. Unlike dedicated hosting, you don’t get an entire server to yourself. However, you do get allocated server resources that aren’t shared with other websites and are for your utilization only. VPS employs the usage of virtualization technology, splitting server resources into multiple virtual environments. As the resources aren’t shared among the websites, you get more security and better performance than shared hosting.
Tell-Take Signs, You Need to Migrate to VPS Hosting
If you are witnessing two or more signs listed below, then it is about time you upgrade from shared to VPS hosting for the sake of your website.
- Your website is loading at a slow speed.
- You wish to run a certain software, that your hosting can’t accommodate.
- Your website is growing due to which you require more security and better tech support.
- You received the error “509 Bandwidth Limit Exceeded” way too many times.
Advantages of Switching from Shared Hosting to VPS Hosting
More Server Resources
It is best to migrate website from shared to VPS hosting as with VPS hosting you get higher RAM, CPU, and storage space resources as compared to shared hosting. These resources help optimize the speed and performance of the website. Moreover, VPS hosting also aids in scaling your website for higher traffic volume.
Dedicated Server Space
As mentioned before, VPS hosting splits one server into multiple virtual environments, which means that every website gets its own isolated server space. This helps improve website security, therefore for the sake of keeping your website safe its is best to migrate website from shared to VPS hosting
More Freedom and Control
Another reason why you should migrate website from shared to VPS hosting is that with VPS hosting website owners get root access and a dedicated IP address. This gives them utter and complete control of the server technology, allowing them to install operating systems and software as they please.
Operates in a Self-Healing Environment
VPS hosting deploys an automatic failover during a system failure or misconfiguration. Failover can safeguard your database when a calamity strikes or during maintenance. Moreover, VPS hosting uses a cloud platform that facilitates constant customization and reconfiguration of resources, a feature that dedicated servers lack.
Steps to Migrate Website from Shared to VPS Hosting
Let’s take a look at the 5 steps to migrate website from shared to VPS hosting. Each of these steps will be explained in detail, so we hope you will stick around till the end.
- Create a site backup.
- Set up a virtual private server.
- Transfer website files to VPS.
- Transfer database files to VPS.
- Make the final changes.
Steps to Migrate Website from Shared to VPS Hosting – Summary for the Less Tech Savvy
For those who aren’t much tech savvy and just want a brief overview of the steps to migrate website from shared to VPS hosting, consult the points given below.
Step 1 to migrate website from shared to VPS hosting: Before making any irrevocable modifications, create a backup of your website by simply downloading your web files and exporting the site’s database. Not only will this help in transferring files in the future, but will also act as a support system if something goes astray. Therefore, go to your control panel and create a site backup.
Step 2 to migrate website from shared to VPS hosting: In this step you will have to set up your VPS account and then upload all the previously downloaded files and database to it. Congratulations, you have just migrated your data to your VPS account.
Step 3 to migrate website from shared to VPS hosting: Now this is the last step and it involves pointing your IP address to your new server via your DNS provider. You can request this by sending an email to the.
Steps to Migrate Website from Shared to VPS Hosting – A Detailed Guide
Given below are the elaborate five steps to migrate website from shared to VPS hosting.
1. Creating a Backup of Your Site to Migrate Website from Shared to VPS Hosting
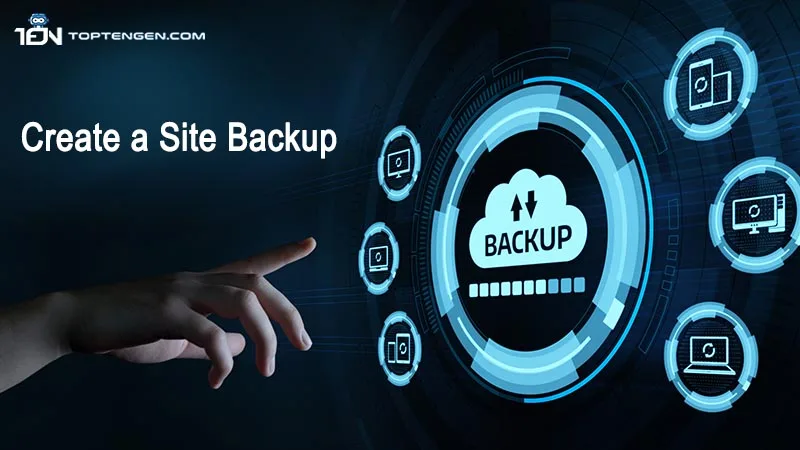
First step to migrate website from shared to VPS hosting is creating a backup go your site. Before making any irreversible changes, it is of pivotal importance that you create a backup of your website to prevent loss of data in case of misconfiguration or errors. Moreover, by creating a site backup you can also easily transfer your databases and site files to VPS hosting.
In this tutorial, you will show you how you can back up your files through your site’s control panel. Keep in mind that the steps may differ for different hosting providers, however, the general procedure is the same:
- First of all, open your control panel and log in to your hosting account.
- Navigate your way to Files → Backups.
- Then select Files backups and check the time and date of your latest backup from the drop-down menu. Once done, click Next Step.
- You will find the option to download all files, click on it, and wait till the process is finished.
- Afterward, a Download Backup button will appear, right-click it and select the option Copy Link Address.
- Paste the link you just copied on a text editor and keep it safe, as you will need this link to migrate your website files.
- Repeat the steps to download the database backup.
In case there are no backups available, go to Generate new backup, and click Proceed. Once done copy the backup download link and database name and paste it into a text editor.
2. Setting Up a VPS to Migrate Website from Shared to VPS Hosting
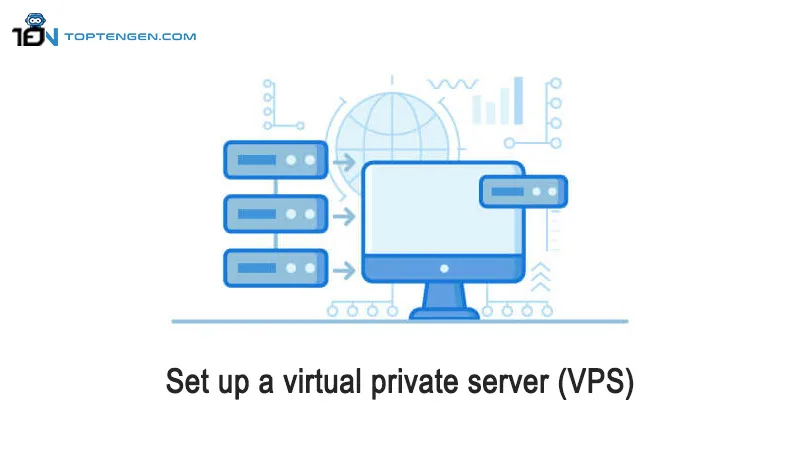
Before you migrate website from shared to VPS hosting, you have to set up the VPS first. For this purpose, it is better to choose a server template with the Apache, Linux, PHP, and MySQL stack and Webmin/Virtualmin pre-installed. Servers that have pre-installed control panel make management a lot easier.
In order to change your VPS OS and pre-installed software:
- Make your way to the control panel then find the VPS tab.
- Select the VPS in question.
- On the sidebar you will see the term Operating System, click on it.
- Select OS with Control Panel and pick your desired template.
- Then click Change OS.
Accessing Webmin/Virtualmin
(For the purpose of this tutorial AlmaLinux 8 64bit with Virtualmin will be used)
Webmin refers to a web-based system administration tool meant for Unix-like servers. It makes it possible for the admin to remotely manage the system via any web browser. On the other hand, Virtualmin is actually a Webmin plugin that facilitates the simplification of multiple domain management tasks and works similarly to cPanel and other website management tools.
Refer to the steps given below in order to access Webmin or Virtualmin with root access permissions:
- Once you have installed the new OS, go to the control panel and select Operating System, where you will find the login URL and management panel’s username.
- Get your root password. In case you forget it, you can easily reset it and create a new one from Settings.
- Enter the Login URL link mentioned before, in your web browser’s address bar to access Webmin or Virtualmin.
- Once you land on the login page, type in your credentials.
- Once logged in, you can now set up Virtualmin, by going to the post-installation wizard.
Setting Up Virtualmin
Follow the steps given below to configure Virtualmin. Keep in mind that these steps can vary depending on the version.
- Memory
Preload Virtualmin Libraries? – It’s best to choose No as we will be using a secure SSH connection for most of the process.
Run email domain lookup server? – Choose Yes, if you wish to run an Email Server on your VPS.
- Virus Scanning – Enable the virus scanner labeled CalmAV.
- Spam filtering – If you wish to run an email server on your VPS enable SpamAssassin.
- Database servers – Enable the MariaDB database server and disable the one labeled PostgreSQL.
- MariaDB password – Fill in the password you would like to use for the database.
- MariaDB database size – Take into account the system’s usage and determine the website’s database size. In case you don’t know what to choose, leave the default settings.
- DNS configuration – Choose Skip check for resolvability.
- Once you are done with the configuration process, click on the re-check and refresh configurationsoption to test if the virtual server setup is a pass or a fail.
Creating a VPS
- Make your way to the List Virtual Server and choose your server from the list.
- In case it shows the message “Virtualmin’s configuration has not been checked since the last update” select the option Re-check and refresh configurations.
- Wait for the process to complete. Once done click on Return to servers list at the bottom of the page.
- In case the list does not display a new server, create one.
- Once on the server configuration page select a new server, and then click on the Virtual server details tab. From there obtain your home directory for file transfer.
- Next, create the database by clicking the MariaDB database enable option. Then select the Save virtual server option.
- Now your server is ready to host.
3. Migrating Website files to VPS
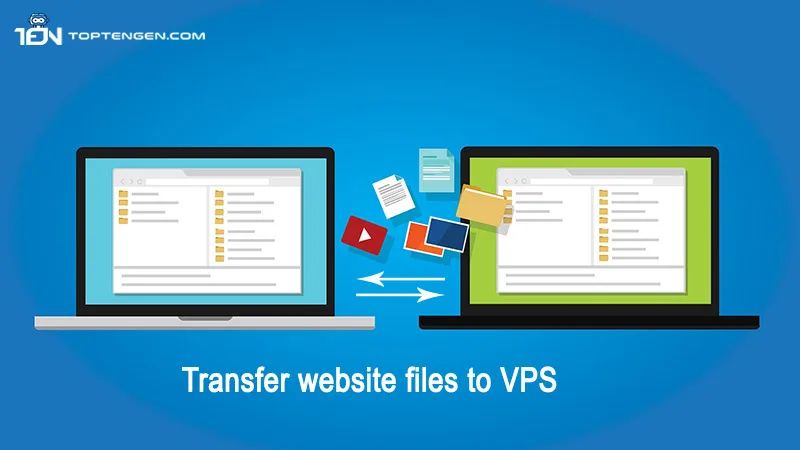
Now you can transfer your files from shared hosting to VPS. For the purpose of this tutorial, the wget command will be used to download the backup achieves that were created in the first process. Let’s begin:
- First of all, either use an SSH client or a Browser terminal to connect to your new VPS account.
- Then access the directory where you will keep all your files.
- Afterward, copy your website’s file backup download link.
- By using the wget command, download the backup from your shared server to the VPS. In case you are having trouble pasting the link into the SSH client, first transfer it to a text editor.
- Once the last step is completed, use the tar command to extract the archive.
- Once done you will be left with a new public_html folder. Now you have to move its contents to the original public_html directory.
- Now use the cd command to access the extracted public_html folder.
- Afterward, use the mv command to move all the contents to the public_html folder that was created via Virtualmin.
- Make your way back to the public-html directory that Virtualmin created via the cd command.
- To check if the folder contains all the moved files take advantage of the Is command.
- Based on the domain name, Virtualmin automatically creates a user and group. Now take the help of the chown command to change the files and folder ownership to match with the credentials from Virtualmin.
4. Migrating Database Files to VPS
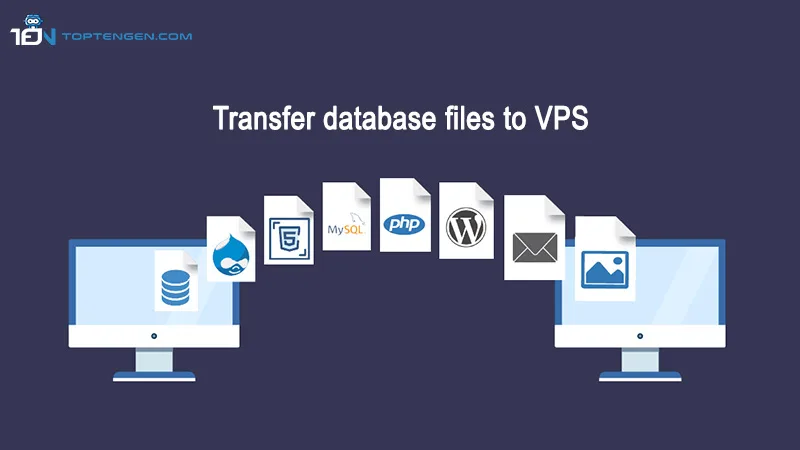
The wget command will be used to transfer database backup from the shared hosting account to VPS. The steps for transferring the database are similar to those mentioned in the previous section. Moreover, as the server already created a new database during VPS configuration there is no need to make additional ones.
Checking MySQL Database Name and Password
In order to transfer the MySQL database backup all you have to do is obtain the newly created database’s name, username, and password. To do that go to the Virtualmin control panel, from there navigate your way to the Edit Databases section and retrieve the information from there. The username and password will pop up in separate tabs.
Downloading and Importing MySQL Backup
Once you have retrieved the MSQL database name, follow the steps given below to import the backup:
- Make your way to the Backups section in your shared hosting account and copy the download link.
- Once copied go back to the VPS control panel and create a new directory under the name sql_backup and enter it.
- Once the directories are switched, download the files from the shared hosting backup via the wget command and save them on the new virtual server.
- Now make use of the gunzip command to extract the compressed file.
- Afterward, you will be provided with a file under the same name in the SQL format. Now move the file to the new database.
- Now enter the database password from the post-installation wizard.
5. Making the Finishing Changes to Migrate Website from Shared to VPS Hosting
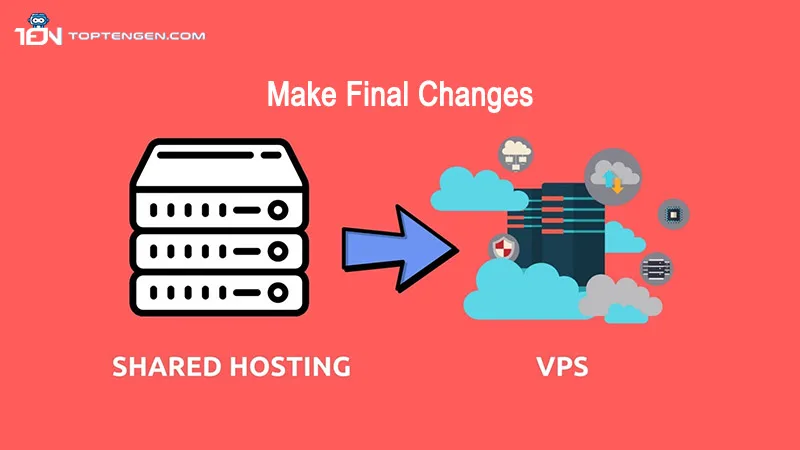
After you have completed the website and MySQL database import process, it is better to do additional VPS configuration in order to ensure that it works properly. Lastly, point the domain name from the shared hosting server to VPS by updating the DNS record. To do that all you have to do is change the A record either via VPS account settings or the domain name registrar.
And voila! Now you have officially moved your website out of its shabby, and suffocating apartment to a new house with a backyard. Enjoy all the new benefits that come with VPS hosting and revel in the success of your website.
Migrate Website from Shared to VPS Hosting – Conclusion
If your site is growing and it needs more resources to function properly then it is in your best interest to migrate website from shared to VPS hosting. With VPS Hosting you will get more resources, features, and security as compared to shared hosting.